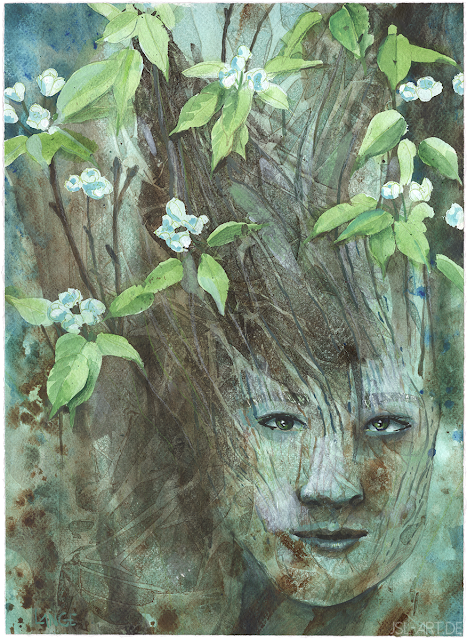
The Pear Dryad (Texture Quest III)
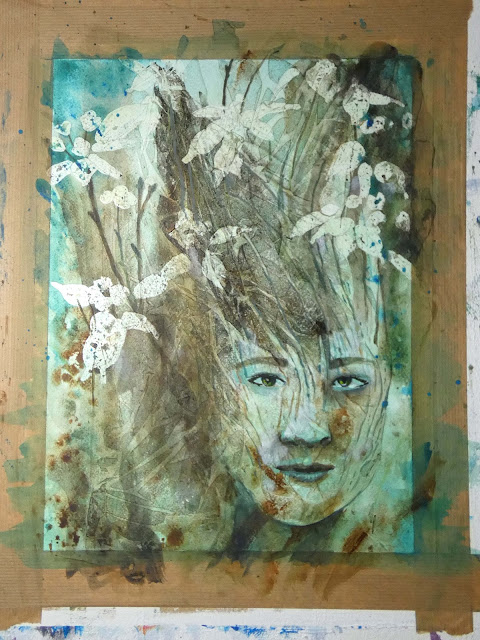
After masking the blossoms, I start with a wash of green on the bottom that I flick pure water into for texture.
I do more layers with this technique. In the end I think I should've stopped before the last layer which is fairly dark, but you never know this going on so I let it sit.
I work on the face with mixtures of the previous colours, and start emphasising some twig structures and bark on the dryad's skin with coloured pencils and diluted paints with small brushes. So far I've been using round and filbert brushes no smaller than #14 and switch so something like a #12 now.
After rubbing off the masking film, I add washes of spring green to the leaves, ignoring the lines and splotching all around them to not make them stand out as too sharply edged. When they're dry, I sketch with coloured pencils and green ink pen to get some structure into them and the blossoms, then paint over that with the same greens as before. I shade the blossoms with light blue and add fine detail wiht a green fineliner.
Because the gummed tape I taped it down with doesn't come off as smoothly as I'd like, I turn to ripping the edges off along a ruler to create deckle edges. Hopefully they will look nice when float-mounted, but they are a pain to scan; I scan with a coloured paper underneath for easier separation of the edges, still requiring lots of manual touchup though. But here we are.


Comments
Post a Comment